DIY tile coaster ideas are a fun and easy way to add a personal touch to your home; they will help you explore countless ideas to make something truly special. With just a few materials and creativity, you can design and make unique coasters to match your style. These coasters protect your surfaces and serve as beautiful decorations or thoughtful handmade gifts.
DIY Tile Coaster Ideas

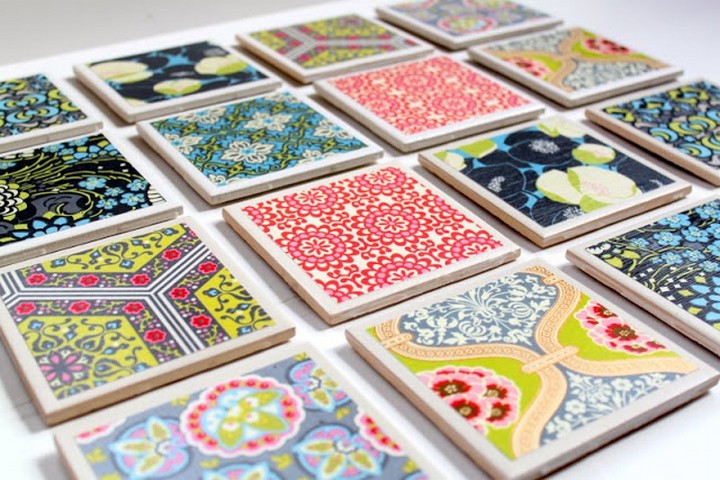
Whether your vibe is modern, vintage, or artsy, you can try numerous styles of homemade tile coasters. The ideas we provided range from using vibrant scrapbook paper to painted designs, from decoupage photographs to stencil work. Each unique idea yields a different look and lets you express your personality, thus giving you a completely customized set of coasters.
Easy DIY Coasters With Sharpies And Alcohol
With this simple guide, you can learn how to create stunning DIY coasters leveraging Sharpies and alcohol! It is an enjoyable project that children and adults can partake in. You can start by removing the back side of the tiles, then painting your upper surface with marker colors, turning it, putting some alcohol on it, and letting it fire. When the fire is done, please place them in the oven to bake your painted tiles for about two hours. Lastly, spray them with a glossy flair and paste the self-adhesive cork paper on the back side to provide resistance while placing.
Materials:
- 91% Isopropyl Alcohol
- Colored Sharpies
- Aluminum Foil
- Squeeze Bottle (optional)
- 4″ Tiles
- Scissors
- Self-Adhesive Cork Backing
- Rustoleum Matte Clear Enamel Spray Paint
- Cotton Swabs
- Gold Leaf Paint
DIY Ceramic Tile Coasters With Vinyl Lettering

This engaging tutorial takes you through creating your ceramic tile coasters, which serve as a fantastic Cricut craft project. To make this amazing coaster, open up your Cricut design space and upload the "Thankful & Blessed" SVG cut file. Size it to fit your ceramic tiles. Place the brown permanent vinyl on your Cricut mat. Set your Cricut machine to "vinyl" and cut your design. Once the design is cut, use the Cricut Weeder tool to remove the excess vinyl, leaving only your design.
Use the Transfer Tape to lift the design off the cutting mat. Take your ceramic tile and ensure it's clean and dry, then carefully apply the design. Use the Cricut Spatula tool to smoothen it out and ensure it sticks well on the tile. Using your paintbrush, apply an even layer of Mod Podge onto the tile to seal the vinyl design. Leave it to dry.
Materials:
- Cricut Machine
- Thankful & Blessed SVG Cut File
- Brown permanent vinyl
- 4" Ceramic Tiles
- 3" Cork Squares
- Transfer Tape
- Mod Podge
- Craft Glue
- Paintbrush
- Cricut Weeder tool
- Cricut Spatula tool
- Scissors
DIY Ceramic Tile Coasters
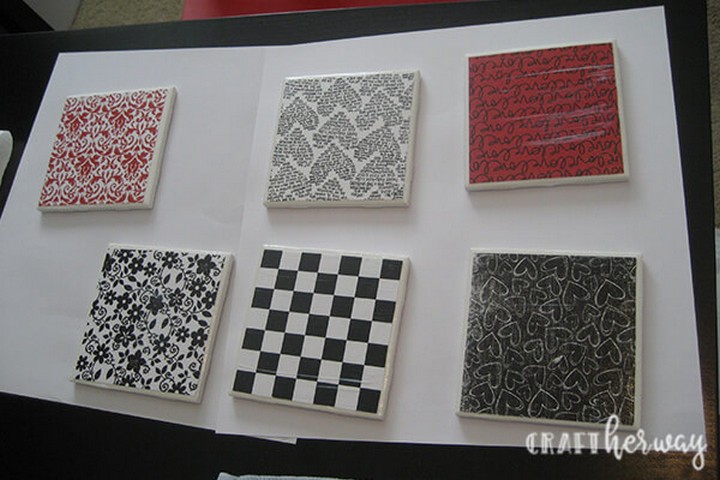
Consider creating DIY Ceramic Tile Coasters that are a delightful addition to your home and make excellent gifts for your family. Plus, you no longer have to worry about those annoying wet cup rings because these coasters will help you. First, you're going to want to cut your paper into squares. Once done, go ahead and clean your ceramic tiles. Get your brush and spread some glue evenly over them. Next, take your paper squares and firmly press them onto the glued tiles. Don't forget to layer more glue on top of the paper. Let it dry completely, and then spray a finishing clear coat on it. There you have it; your lovely new coasters are ready! The fun part is you can create them in any of your preferred colors!
Materials:
- White ceramic tiles
- Modge podge
- Foam Brushes
- Patterned paper
- Paper cutter
- Acrylic Clear Finishing spray
DIY Tile Coasters And Everyday Moments

Creating these DIY Tile Coasters is a fun breeze, allowing you to use them or offer them as thoughtful gifts! This simple craft project is an excellent way to add a touch of flair to your home or serve as a creative gift idea. Start by cutting your scrapbook paper slightly smaller than your tiles. Lay the cut paper onto a tile and brush a layer of Mod Podge over it, smoothing out any bubbles before it dries. Repeat the process with all tiles. After a brief 10-minute dry time, apply a second even coat of Mod Podge. Let the tiles dry completely.
Spray the dried tiles with a craft sealer to make them water-resistant, adhering to the instructions on the sealer bottle. Avoid stacking coasters for 24-48 hours to ensure they don't stick together. Finally, affix felt circles to the tile bottoms using a tacky glue or hot glue gun to prevent surface scratches.
Materials Need:
- 4 x 4-inch tiles
- Decorative scrapbook paper (thicker paper or cardstock won’t work as well)
- Mod Podge
- Clear acrylic sealer spray
- Felt circles
- Foam brush
- Tacky glue or hot glue gun
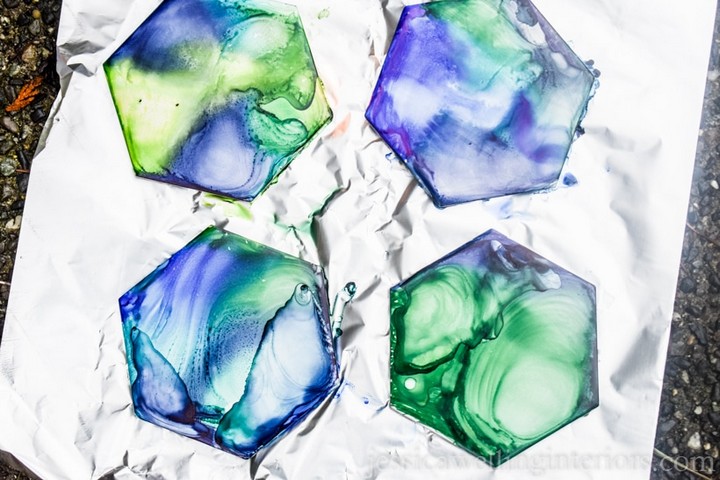
How To Make Super Easy And Elegant Upcycled Tile Coasters

Are you searching for a simple yet sophisticated DIY project? Look no further! Today, we will walk you through an easy, elegant upcycling activity to transform your old tiles into stylish coasters. It's a low-cost, fun coaster project and adds a personal touch to your decor or can be a fantastic handmade gift. So, get ready to give your unused tiles a second life and explore the incredible world of upcycling!
Begin by cleaning four ceramic tiles with alcohol. Apply alcohol inks of your choice by dabbing them onto the tile with a cosmetic sponge or gauze. Once dry, stamp your chosen design using a solvent-based ink pad and let it dry for 10 minutes. Trace and cut cork to fit the bottoms of the tiles, and adhere them using Advanced Strength Glue Dots or E6000. Finish by sealing the tiles with a spray sealer like the Krylon Triple Thick Spray Sealer. Now, you have a sophisticated set of coasters perfect for gifting or personal use.
Materials Need:
- 4 Ceramic tiles
- Alcohol inks
- Cork
- Staz On stamp pad.
- Advanced Strength Glue Dots or E6000
- Cosmetic sponge or gauze
- Alcohol.
- Scissors
- Krylon Triple Thick Spray Sealer
How To Make Coasters Out Of Tiles
Ceramic tiles could be an excellent option if you're looking for a simple and crafty way to create coasters. You can buy inexpensive ceramic coasters from hardware stores or find ones with existing cork backings.
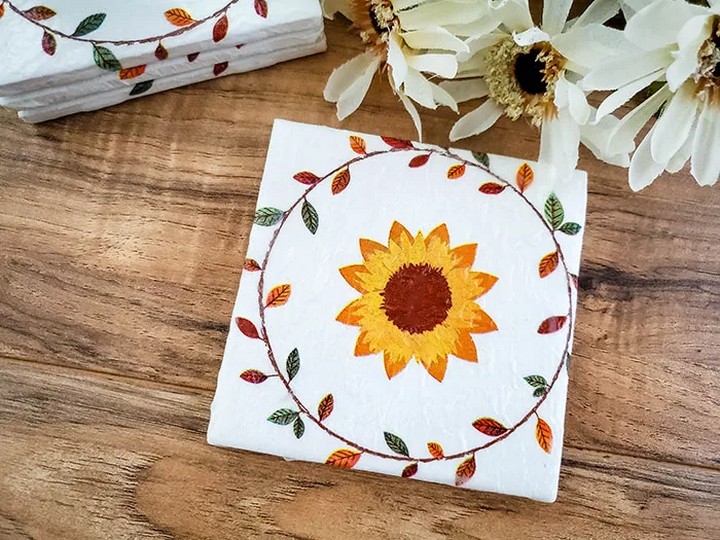
You can easily make your coasters from tiles. Just cut a decorative napkin to match the size of a small ceramic tile. Stick the napkin onto the tile using Mod Podge, starting from the middle to prevent wrinkles. After that, seal the napkin with three more layers of Mod Podge and let it dry. You can coat it with a Hard Coat for an extra secure finish. Once it's all dry, flip the tile and attach small felt stickers at the corners on the back. That's it; you now have a unique and handmade coaster!
Materials:
- 4-inch ceramic coasters
- Sunflower napkins
- Mod Podge
- Scissors
- Foam brush
- Tacky glue
- ⅜ inch felt stickers
DIY Tile Coasters
We made an exciting and easy DIY project to turn simple tiles into attractive coasters using Mod Podge and scrapbook paper. The idea emerged from the need to protect a beautifully revamped drum table from stains and scratches. It's fun, it's affordable, and you can even gift these to your friends as unique housewarming presents!
First, cut your scrapbook paper or fabric into squares, each slightly smaller than your tiles. Apply a coat of Mod Podge on the tile with a paintbrush, then carefully place and smooth your cutout on it. Once it's dried, apply another coat of Mod Podge over the paper or fabric. Cut felt pieces the same size as your tiles and, using the E-6000 adhesive, stick these felt pieces to the bottom of the tiles, providing a soft base for your coasters.
Materials:
- Tiles
- Scrapbook paper or fabric
- Mod Podge
- Paintbrush
- Scissors or craft knife
- Felt
- E-6000 adhesive
- Waterproof acrylic sealer
- Foam brush
DIY Tile Photo Coasters
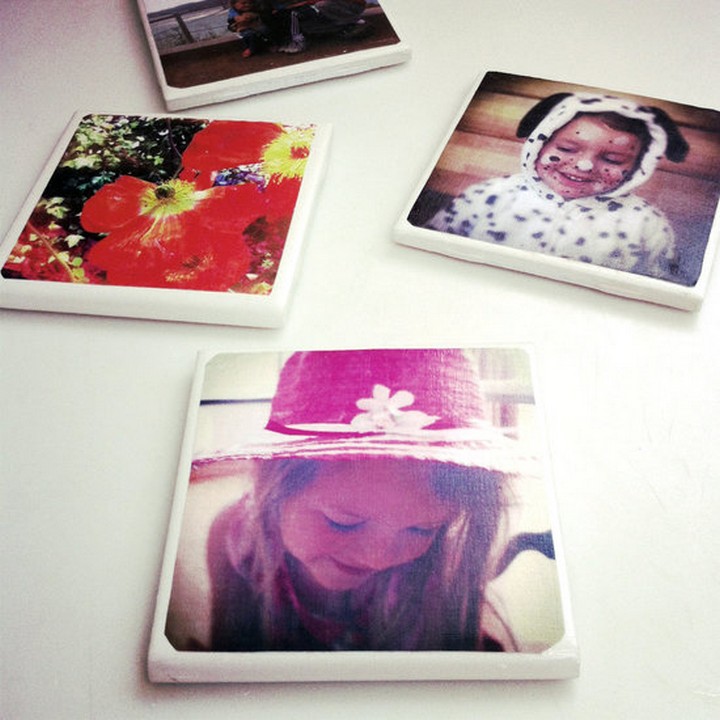
Do you want your favorite Instagram pictures or special moments captured on a practical, everyday item? Try making these coasters! They cost less than $5, using materials easily found at any store. The coasters can make great gifts for friends and family, or keep them for yourself.
Begin by choosing your best photos and print them as 4x4 inch squares. Next, trim them to fit the size of your tile. Apply a light layer of Mod Podge onto the ceramic tile with a brush, then carefully place your photo on it. Allow it to dry for several hours. Once dry, add another light layer of Mod Podge over the photo to protect it and let it dry again. Finally, apply a clear acrylic spray to make the coaster waterproof.
Materials:
- Four 4-by-4-inch white tiles
- Four 4-by-4-inch square pictures
- Scissors
- Mod Podge
- Foam brush
- Felt
- Hot glue gun
- Length of ribbon
- Clear spray sealant
How To Make DIY Tile Coasters

Making these DIY tile coasters is easy and not expensive. They'd be a fantastic gift you can make by hand, and you can change the designs to match the person's likes. The tile holders for plants would be a perfect gift for someone who has just moved into their new house or for a party host.
Choose a design you like and print it on thin paper for DIY tile coasters. Stick the paper on the tile with Mod Podge and let it dry. Then, use a clear spray to keep the design safe. At last, draw around your tile on a sheet of cork or felt, cut it out, and stick it to the tile's bottom. This stops your tile from making scratches. Now, you have a nice, handmade coaster all set!
Materials:
- Cork sheet or felt for the backing
- Mod Podge
- Matt acrylic varnish spray
- Superglue gel
- Scissors
- Printable decoupage paper or plain white paper napkins.
Tile Coaster Tutorial
Go with this amazing coaster creation idea to Make a sophisticated and admirable addition to your handmade art pieces. It can be great to show off your creative nature, and I hope you'll fall in love with it.
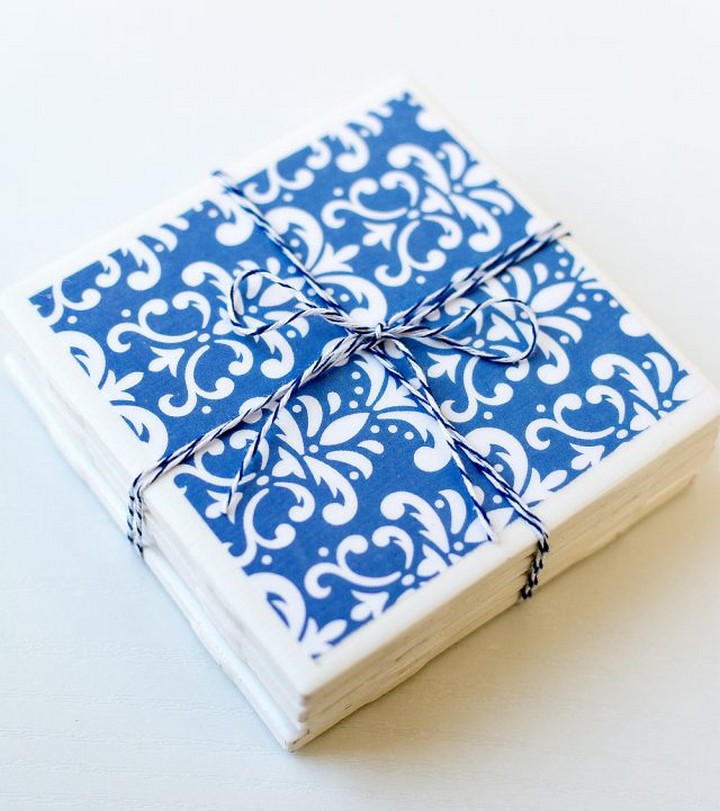
First, cut the scrapbook paper to fit the tiles. Apply Mod Podge to the tile and add the paper, then seal it with another layer of Mod Podge. Spray the coasters with acrylic sealer and let them dry. Finally, affix the felt to the bottom of each tile to protect surfaces. These coasters make a lovely, homemade gift.
Materials Required:
- 4 square tiles from your local hardware store (4.25″ x 4.25″)
- 4 pieces of scrapbook paper (3.75″ x 3.75″)
- 4 pieces of felt (3.75″ x 3.75″)
- Mod Podge
- Sponge brush
- Glue (i.e. Fabri-tac or other strong adhesive)
- Clear acrylic sealer